Preparations:
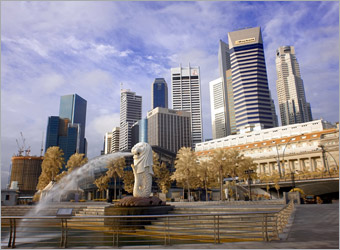
In this tutorial, we will need an image that you wish to create the stretch pixel effect with.
I'm using a photo of Singapore skyscraper taken by archlover. Click here to view the original image.
All rights of these resources belong to their respective owners.
Step 1 - Setting Up Background:
Create a document with size 750x550 pixels.
Fill the background with #000000.

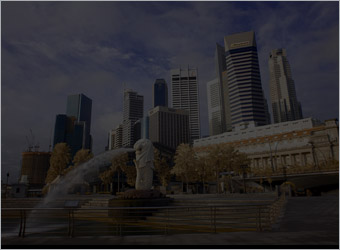
Step 2 - Create Reference Layer:
Open up the photo and drag it into the document. Name this layer as Reference.
Set the opacity of this image layer to 40%.
This layer is to be used as a reference when we are doing the following steps.
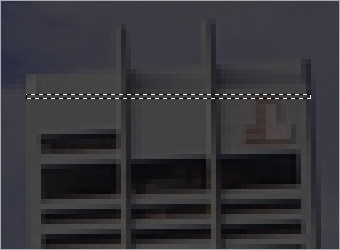
Step 3a - Stretch Vertically:
Select the Reference layer. Zoom in the image so it is easier to work with.
Using the Rectangular Marquee tool, make selection with 1 pixel height as shown in the diagram. Select only the part where you wish to stretch the colors.
Press Ctrl+C.
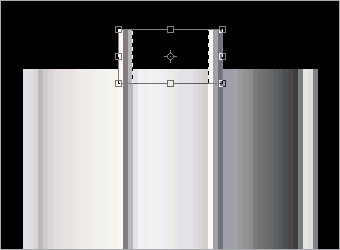
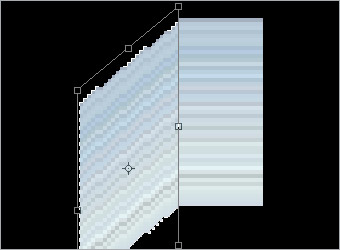
Step 3b - Stretch Vertically:
Hide the Reference layer by clicking on the Eye icon.
Press Ctrl+V. This will create a new layer with the row of pixels you have selected in Step 3a.
Go to Edit > Free Transform. Stretch the pixels downwards.
Step 3c - Stretch Vertically:
You may also select some smaller areas and stretch them further so there are more variations in the stretched items.
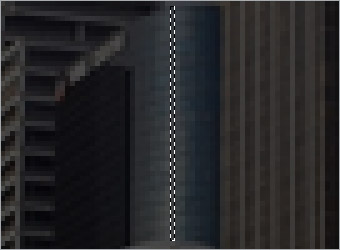
Step 4a - Stretch Horizontally:
Unhide the Reference layer by clicking on the Eye icon again.
Similar to Step 3a, select a column with 1 pixel width using the Rectangular Marquee tool.
Press Ctrl+C.
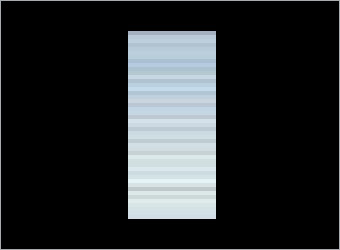
Step 4b - Stretch Horizontally:
Hide the Reference layer.
Press Ctrl+V.
Go to Edit > Free Transform. Stretch the pixels horizontally.
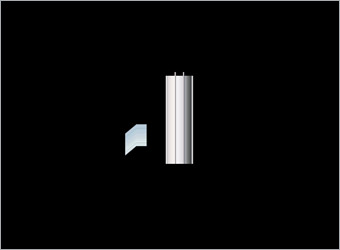
Step 4c - Stretch Horizontally:
Select part of the stretched pixels and go to Edit > Free Transform again.
This time we create some perspective to it. Go to Edit > Transform > Skew.
Move your cursor over the border of the Transform grid till you see a double-sided arrow. Left-click and drag your cursor downwards.
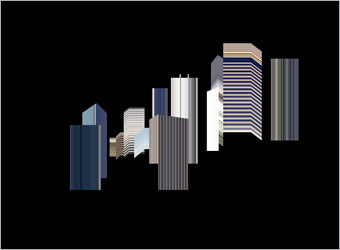
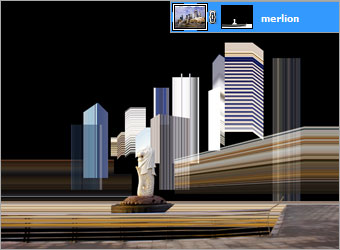
Step 5a - Create Architecture:
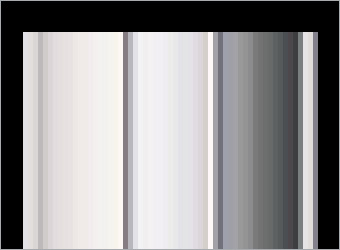
Zoom out to have an overview of the buildings you created so far.
Step 5b - Create Architecture:
With the same methods stated in Step 3 and 4, create the rest of the buildings as shown in the diagram.
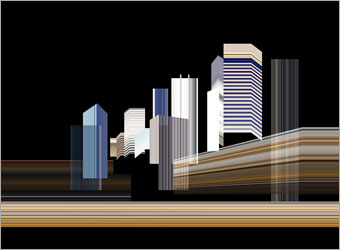
Step 5c - Create Architecture:
You may adjust the opacity (around 30-60%) and overlap some of the buildings to create a better effect.
Step 6 - Cropping Objects:
Let us mix some cropped objects to the foreground.
Duplicate the original photo. Select the duplicated layer and create a Layer Mask on it.
Using Soft Brush tool with color #000000, paint the areas that you wish to hide on the Layer Mask. You may touch up on the mask by painting with white and black colors.
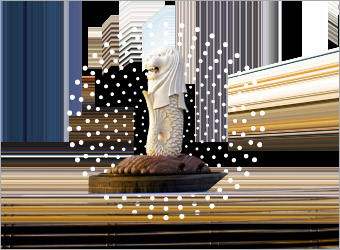
Step 7 - Adding Halftone Effects:
Download halftone graphics at Vecteezy here. Open up the file in Illustrator. Select one of the halftone effects and press Ctrl+C.
Back to Photoshop and press Ctrl+V. Select Paste as Smart Object. Resize the graphic to your desired size.
Right-click on the layer and choose Blending Options. Activate Color Overlay and choose the color you wish to replace with.
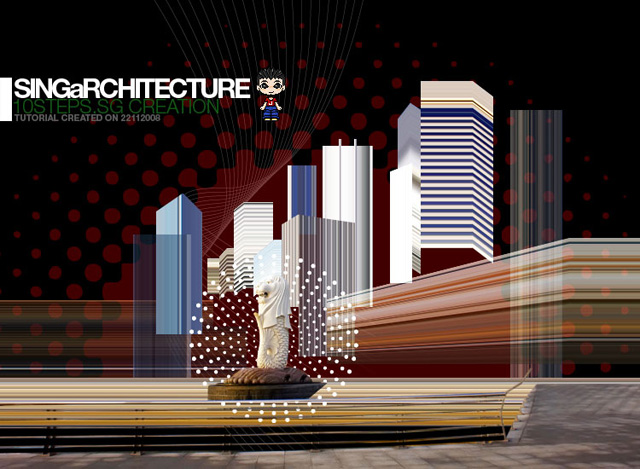
Optional:
I added texts and some more halftone effects to the background.
This is a very simple tutorial that I hope will be useful to everyone reading it.
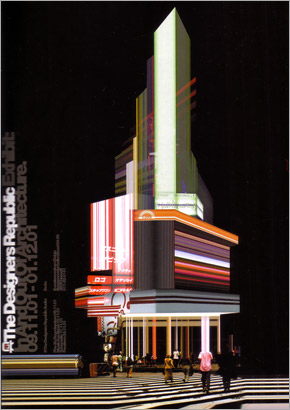
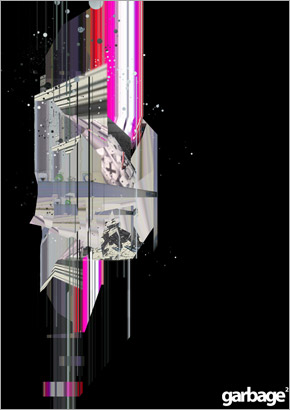
Below are the images that inspire me to write this tutorial:
Garbage designed by Jomino
Mitdarchitec_ure designed by Designers Republic
NOTE : ALL CREDITS FOR THE ORIGINAL TUTORIAL MAKER :)

0 comments:
Post a Comment