Preparations:
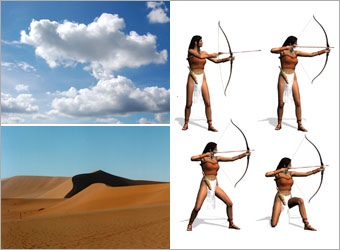
We will need a desert, clouds and several characters that you wish to form up your troops with (I'm using a set of ancient archers for this tutorial).
All rights of these resources belong to their respective owners.
Step 1 - Setting Up Environment:
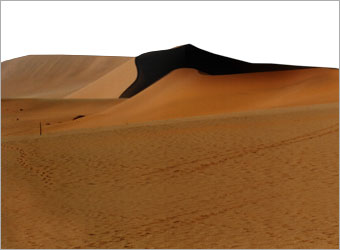
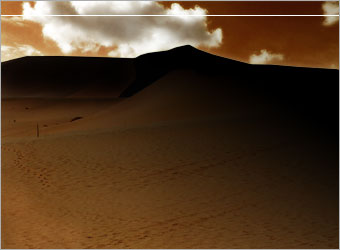
Create a document of size 750 by 550px.
Place in the desert and remove the sky along the edge of the sand with an Eraser tool.
Step 2 - Adding Shadows:
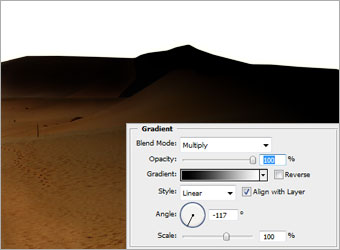
Right-click on the desert layer and choose Blending Options.
Activate Gradient Overlay and insert the settings shown in the diagram.
You can briefly see shadow cast on the right of the document.
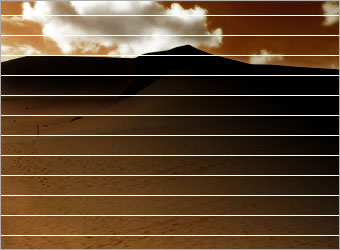
Step 3 - Adding Clouds:
Place the clouds below the desert layer.
Select the clouds layer and go to Image > Adjustments > Hue/Saturation. Insert 165 for Hue, -15 for Saturation and 0 for Lightness.
Go to Image > Adjustments > Levels and enter the values 30, 1 ,255.

Step 4a - Drawing Grid Lines:
Create a new layer above the rest. Use Pencil tool of size 1px and color #FFFFFF, press down Shift key, and draw a straight line at the top.
Ctrl+left click on the layer to load its selection. Ctrl+Alt+T to load transform tool (this is different from Edit > Free Transform or Ctrl+T).
Step 4b - Drawing Grid Lines:
Press a few times on the Down Arrow key and you will see a new line appearing on the same layer.
Shift the new line about 20px below the top original line you drawn and hit Enter.

Step 4c - Drawing Grid Lines:
On the same layer, press Ctrl+Alt+Shift+T (this is different from Edit > Transform > Again or Ctrl+Shift+T).
You will see more lines appear downwards with the same spacing as you did for the 1st and 2nd line earlier. Carry on doing so till you fill up the document with lines.
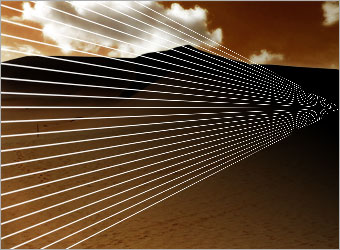
Step 4d - Drawing Grid Lines:
Go to Edit > Transform > Perspective.
Grab either the top-right or bottom-right square and drag it close to the vertical center of the document.
You should get to see white lines converge like the ones shown in the diagram.
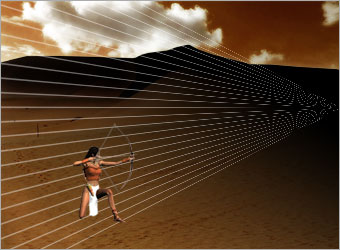
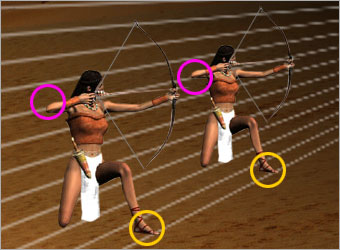
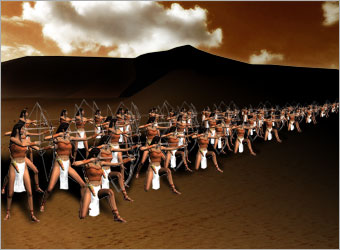
Step 5a - First Row of Archers:
Crop out the character you'll be using to form up the first row.
Usually it should be either in kneeling or bending positions so we can see other variations of pose behind.
Place the character as shown in the diagram.
Step 5b - First Row of Archers:
This part is pretty much similar to the technique used earlier in duplicating the lines.
Ctrl+left click on the character layer to load its selection. Ctrl+Alt+T to load transform tool (this is different from Edit > Free Transform or Ctrl+T).
Move and resize the new character generated to the right. Use the grid lines to estimate its position and size. Hit Enter once you're done.
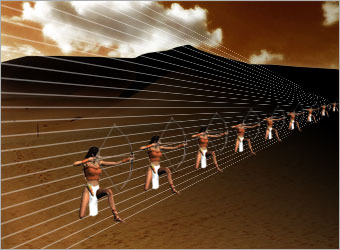
Step 5c - First Row of Archers:
On the same character layer, press Ctrl+Alt+Shift+T (this is different from Edit > Transform > Again or Ctrl+Shift+T).
There you will see another archer forming up along the grid line. Carry on doing a few more times to create a nice row of archers.
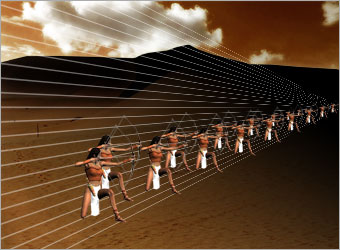
Step 6 - Second Row of Archers:
Create a new layer below the first row of archers and repeat Step 5 to form the 2nd row.
Need to pay attention to the perspective where all the archers converge to the same point.
This is somehow trial and error for the start, even with the grid lines. Things will be easier once you get the hang of it.
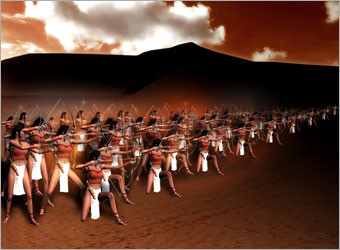
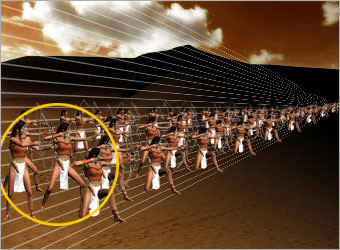
Step 7 - Forming the Troops:
Repeat Step 5 and 6 with other poses. It's up to you to decide how many rows of archers to form up in the troop. I've 8 rows (or layers) of archers in this tutorial.
Note that it is better to place the different poses near to each other without overlapping for the larger sized ones.
Step 8 - Adding Shadows:
Create a new layer below all the archers.
Use the Soft Brush tool of color #000000 and opacity 70%, paint in the shadows of the archers.
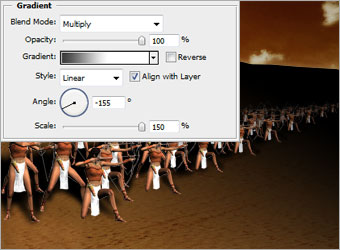
Step 9 - Adding More Shadows:
Right-click on the first layer of archers and choose Blending Options.
Activate Gradient Overlay and key in the values shown in the diagram. Click OK once you're done.
Right-click on the layer again and choose Copy Layer Style, then follow by right-clicking other layers of archers to Paste Layer Style.
Step 10 - Adjusting Colors:
Click on Create a new Adjustment Layer and select Levels. Key in the values 7, 1, 228.
Create another Adjustment Layer and select Hue/Saturation. Key in -10 for Hue, -10 for Saturation and 0 for Lightness..
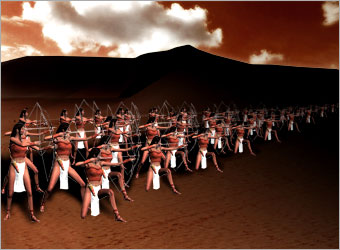
Optional:
I've further added some colored smoke in between the layers of archers and also some glitters at the tip of their bow and arrows.
Hope you enjoyed the tutorial. Thanks!
NOTE : ALL CREDITS FOR THE ORIGINAL TUTORIAL MAKER :)

0 comments:
Post a Comment